Applying decals to models
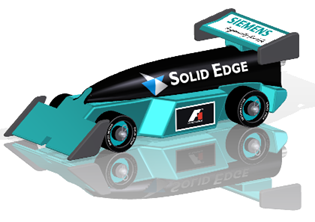
A decal is a sticker applied to a surface to contain a label or an image. You can use the Decal command in part or sheet metal to affix a brand logo, an instruction label, or a warning message to a model. You can add an image to show product styling, or to depict visual detail on a simplified model.
You can place the decal directly on a part model or completely within the boundaries of a face or across multiple faces. A Decals group is added in PathFinder to list the decals you added. You can select a decal from the list and edit or delete it. Decals are visible in downstream applications, such as assembly, draft, and rendering.
If you use Keyshot to render a model that contains a decal, the decal is not shown in Keyshot.
Adding a decal workflow
The following steps outline the workflow for adding a decal to a model.
-
Identify a plane on which to place the decal.
-
Insert an image of the decal.
-
Add constraints and dimensions to accurately place the decal.
-
Identify a face on which to project the decal.
© 2021 UDS